If you are a snowboarder who doesn't mind earning your turns and you’re keen on getting out into the backcountry, then you basically have two options for uplift: Splitboard or Snowshoes. I’ve covered a fair few thousand vertical feet on both, and each has its own advantages and disadvantages.
Going up
This is probably the most important factor when considering to go for snowshoes or a splitboard. Especially if you are planning on doing a lot of ascension under your own steam or keeping up with skiers, you want to make the climb as efficient as possible.
Generally speaking, splitboards are a more efficient way of moving around in the mountains than snowshoes are.
They are way less effort to move across deep soft snow and on flatter sections, you can actually let the 2 skis glide which is both quicker and saves you energy.
Where snowshoes can compete with splitboards is on short steep, technical sections. On snowshoes, you can walk straight up much steeper slopes than on splitboards, especially if the snow is a little hard. This can be much quicker for a short distance than on a splitboard, where you have to zigzag up the slope doing kick turns. Traversing on a splitboard can be difficult, especially if the snow is a little icy. You can often lose your edge on hard snow, which will slow you down. Splitboard-specific boots will help you on the traverses
Over long distances, though, splitboards will almost always be quicker and less effort than snowshoes. Another advantage of splitboards on the way up is that you don't have to carry your board on your back which is heavier and can also unbalance you in deep snow.
Going down
So now you’ve had it to the top, which is the best for riding down?
When splitboards first came out, they weren’t that great to ride. The two halves often had a bit of play in the attachment and you could sometimes feel the edges in the middle of the board catch in the snow. Over recent years the boards and, perhaps more significantly, the bindings, have got much better. Now you really don't feel much different between your splitboard and your regular snowboard.
If you are on snowshoes you can take whatever board you want! This is obviously the ideal situation, the only drawback is that you’ve got to carry your snowshoes on your backpack on the way down. When I used to snowshoe, I always felt that I was holding back a little on the way down – you really dont want to ragdoll down the hill with snowshoes strapped to your back!
Ease of use
I would have to say that snowshoes win here! Splitboards have got a lot of different parts and can take a little while to transition from split, when going up, back to snowboard for going down. Changing a split board from form to the other involves removing the bindings, splitting the board, putting the bindings back on and then sticking on the skins to the base of the two halves of the board.
Changing a split board from one form to another will take you at least 10 minutes, and no doubt take longer the first few times you try!
Its a good idea to carry a plastic scraper with you to clear the snow and ice off the 2 halves of your splitboard before trying to lock them back together.
On the other hand, putting on snow shoes is relatively quick; you just need to step into them and tighten the straps, similar to how you would put on snowboard binding. Then you just need to strap your board to your backpack, and you’re good to go.
Although snowshoes will have a good few minutes of head-start on the trail, they will soon get caught up by the split board, which is quicker over the snow.
Cost
There is a big difference in cost between snowshoes and a splitboard setup. So depending on budget this might be the deciding factor for a lot of snowboarders wanting to get into the backcountry.
For a basic splitboard setup, you'll need:
- A splitboard snowboard – the most expensive piece of equipment, about 40% more than a normal board.
- Splitboard bindings – to use on the way up in ski mode and on the way down as normal snowboard bindings.
- Skins – Stick these to the base of your splitboard to get a grip on the snow on the way up.
- Poles – there are cheaper options but you'll probably want poles that collapse into three sections so that they fit in your packer the ride down.
- Splitboard boots – sturdier boots with added features to help you accend quicker.
For a basic snowshoe setup, you'll need:
- Snowshoes – there are quite a range of prices out there but for a reliable pair of snowshoes, expect to pay somewhere between 100-150 bucks.
- Poles – same as splitboard poles, good news if you decide to upgrade your snowshoes to a splitboard!
How much is a Splitboard setup?
Total cost $1609
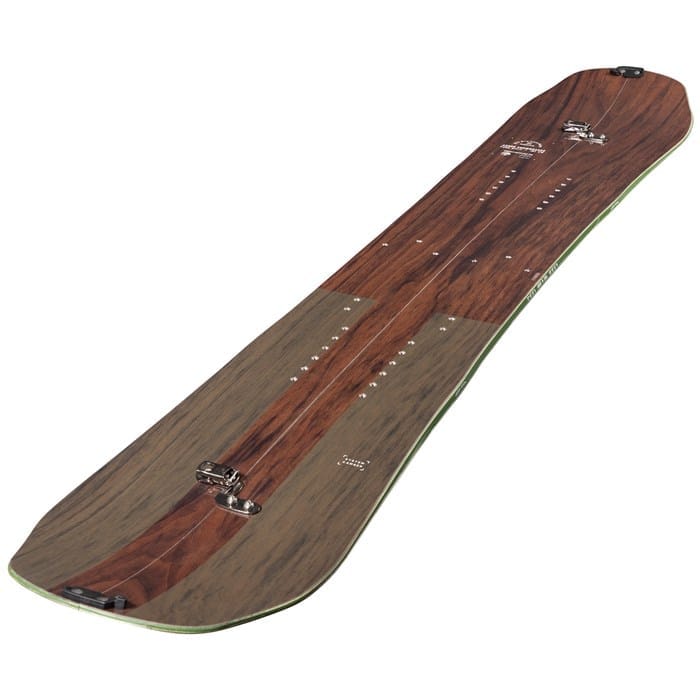
Arbor Coda split board – $750
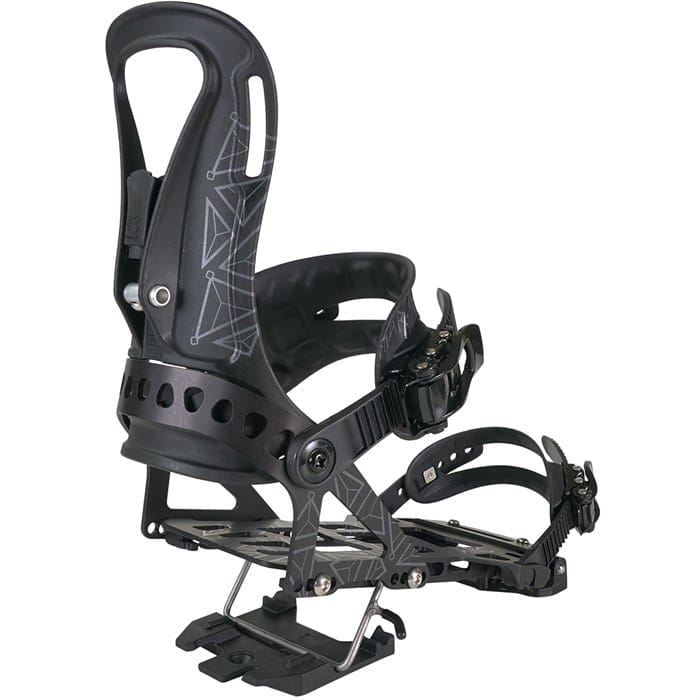
Spark R&D Arc bindings – $460
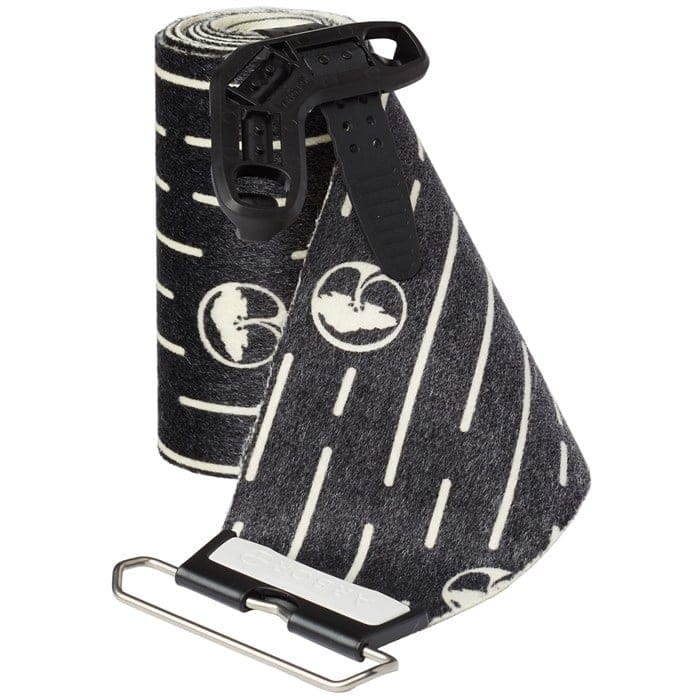
Arbor Splitboard skins – $199
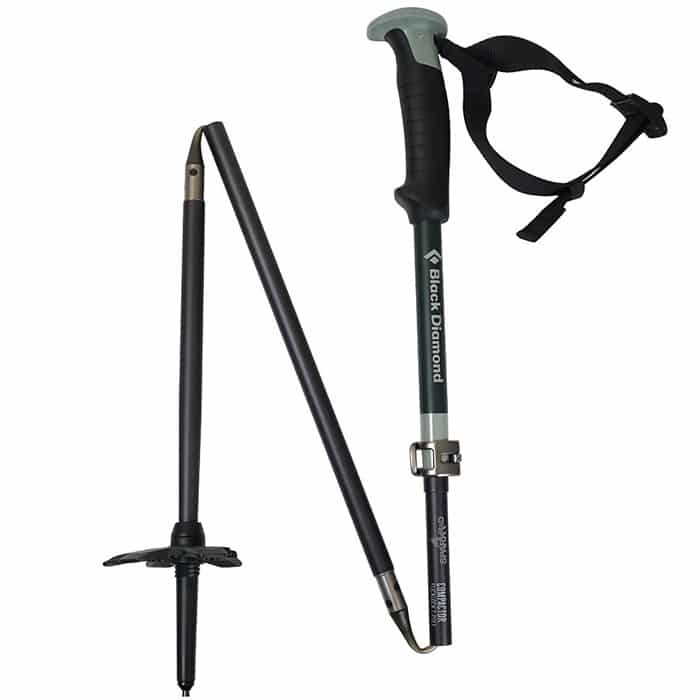
Spark R&D X Black Diamond poles – $200
How much is a Snowshoe setup?
Total cost $340

Altas Helium trail snowshoe – $140
Spark R&D X Black Diamond poles – $200
Wrapping up
Split boards and shoeshoes can open up the true potential of the mountains and one you get to the top the ride down is always worth it!
However, going up hill under your own steam is hard work and not everyone's idea of fun! So if you are just getting into backcountry riding I would definitely recommend starting of by buying a set of snowshoes or renting a splitboard before you invest in a splitboard of your own.
Once you get the bug then and start going on longer missions then a splitboard is definitely the way to go. They are better at moving over all kinds of snow and more efficient on the way up, leaving you plenty of energy to shred on the way down!