
Guide by Graeme Gibson, certified snowboard instructor.
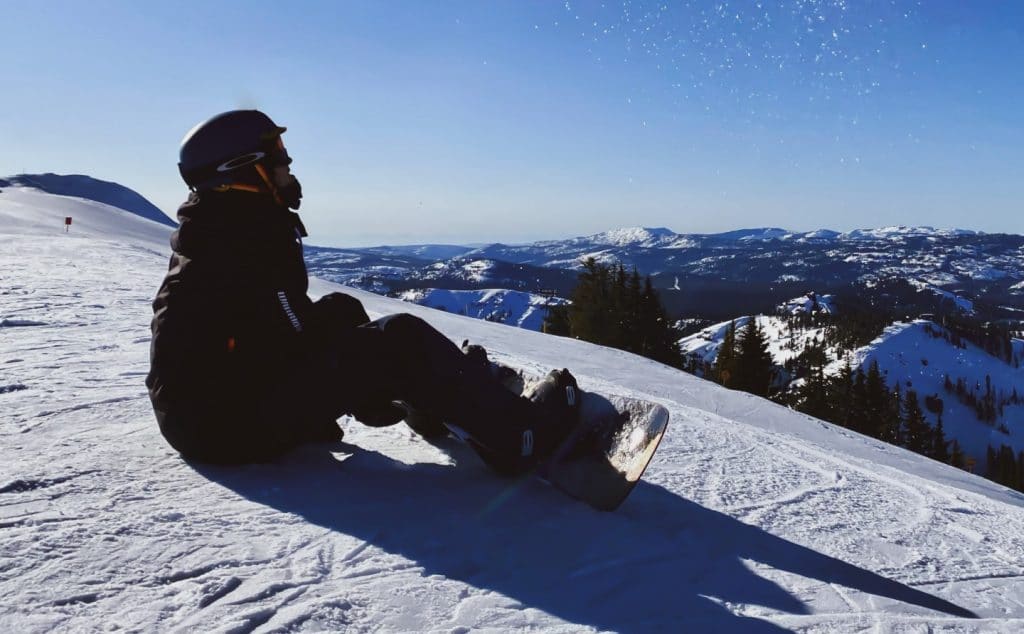
Picking the right snowboard boots can have a huge effect on how you ride and whether or not you get foot pain! Here is our guide to getting the right size, the right stiffness, and the right lacing for your boots so you can spend your days shredding on the hill in complete control and comfort.
How Should Snowboard Boots Fit?
Snowboard boots should be a snug fit so that you have maximum support for your foot and all your movements are directly transferred into your board.
When first trying on a boot your toe should just touch the end of the boot, then, when the boot is tightened and you give a little flex from your ankle, your toe should just pull back from the end of the boot.
It’s also worth bearing in mind that the liners of most decent boots are designed to mold to your feet, meaning that if they are a little too tight to start off with they will pack out after a couple of days of wear.
What Causes Your Feet to Hurt When Snowboarding?
How Tight Should Snowboard Boots Be?
Do Snowboard Boots Run Big Or Small?
Snowboard sizing should be the same as your normal shoe size, although it’s a good idea to get your feet measured if you’re not sure or if you’re in between sizes.
After working for a few seasons in snowboard rental, I’ve learned that it’s a common misconception that you should go for a size up from your normal shoe size so that they are more comfortable, but boots that are too big can also lead to problems.
Boots that are either too big or too small can cause a range of problems from lack of control of your board to painful feet when you’re riding.
Boots that are too big can cause…
- Lose of responsiveness from your board
- Heel lift in the back of the boot
- Toes banging into the front of the boot
- Rubbing on the side of your foot
- Cutting off of circulation if you have to over-tighten your bindings
However, all this doesn’t mean that you should go for the smallest size that you can cram your feet into.
Boots that are too small can cause…
- Loss of circulation
- Cramps in to the bottom of the foot
When we think of shoe sizes we normally just mean the length of the foot, but getting the width of your snowboard boot right is also important, especially if you’ve got really wide or narrow feet.
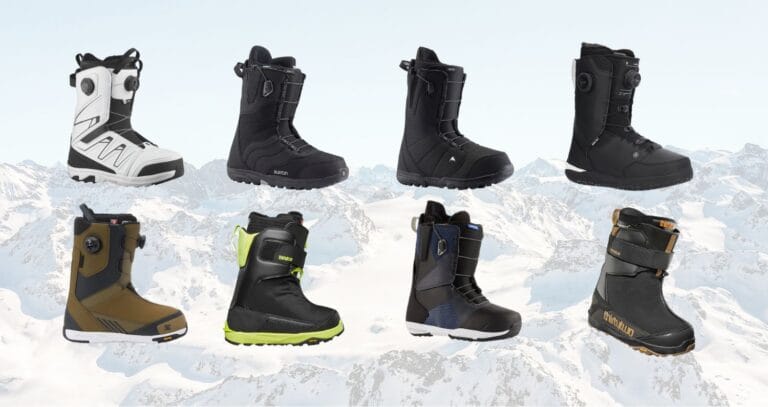
Best Snowboard Boots for Wide Feet
Best Snowboard Boots for Narrow Feet

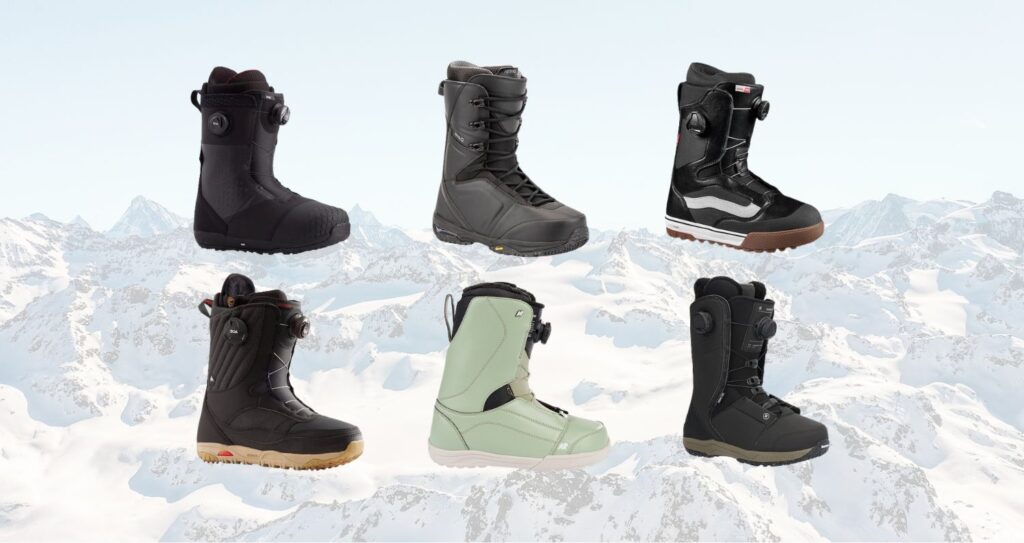
Most Comfortable Snowboard Boots
Wide feet will effectively experience all the same problems as boots which are too small. That means cramps and loss of circulation. If you’ve got narrow feet, you might feel like you’re moving around too much in the boot and that your heel is lifting.
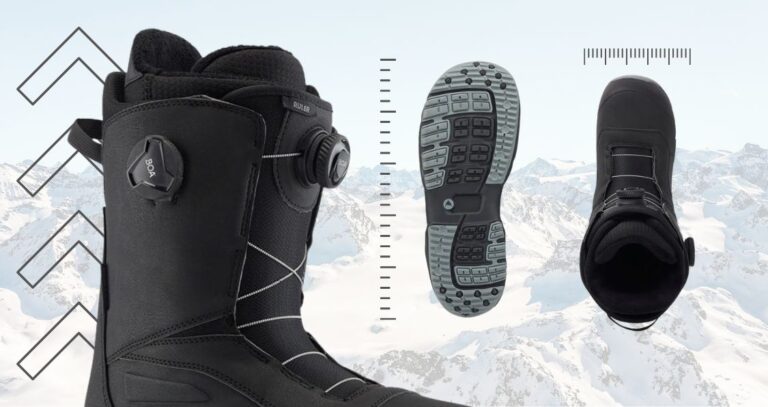
Parts of a Snowboard Boot
So that’s the sizing taken care of but it doesn’t stop there. But before we go over all the other considerations when buying a pair of boots, it would be useful to go over some of the terminology.
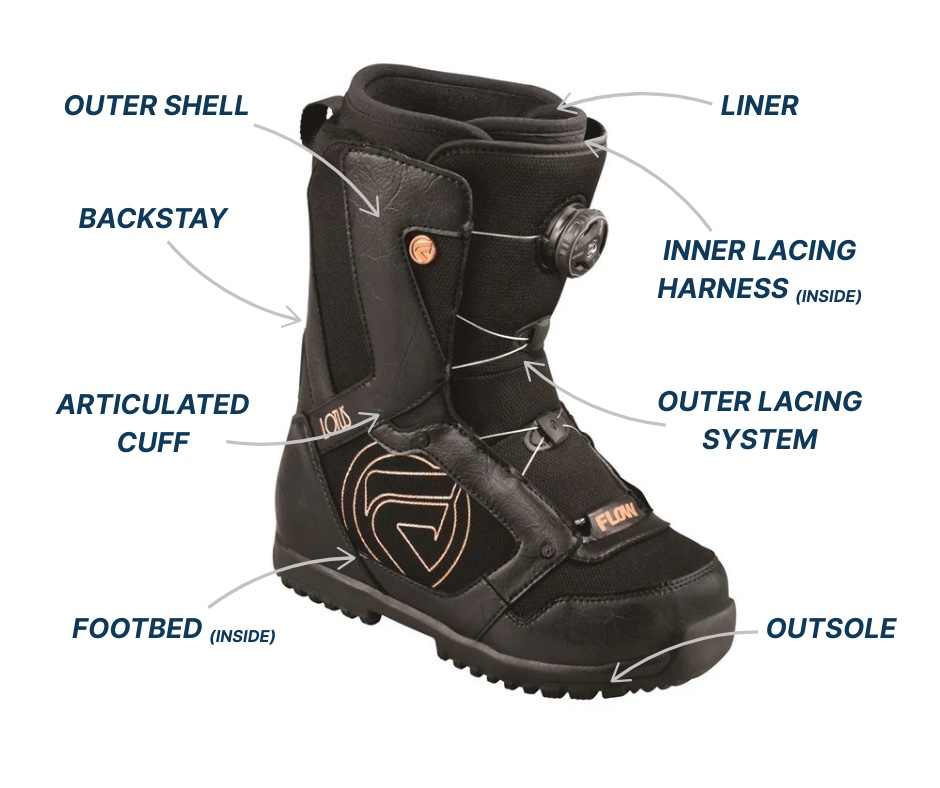
Shell – the outer part of the boot
Liner – the inner part of the boot, the boot within the boot
Articulated cuff – The way the shell of the boot is cut to allow the boot to bend at the ankle without deforming the boot
Inner lacing harness – the lacing harness attached to the inside of the shell which tightens around the ankle of the inner boot and holds it in place
Backstay – the rubbery strip that runs up the back of the shell and helps stop the boot from sliding up against the highback of the binding
Footbed – the removable insole that supports the sole of the foot and slides inside the liner.
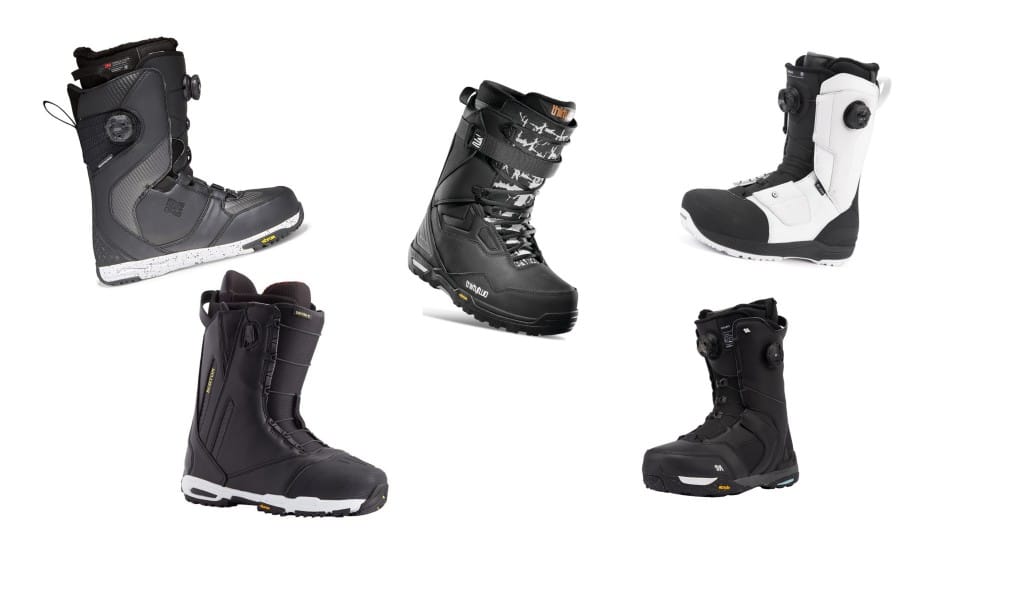
Snowboard Boot Lacing Systems
There are generally 3 types of lacing systems out there, each one with its own pros and cons.
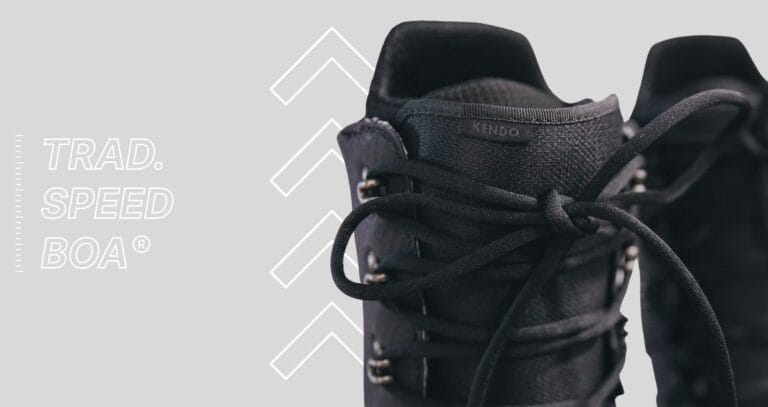
Traditional lacing
Just like on your sneakers. Most traditional laced boots come with lockable cleats about halfway up around the ankle so you can really tighten the lower half and then lock it off
Pros
Cons
Speed lacing system
There are loads of different variations of speed lacing systems across the brands but the general principle is the same. The boot has two different laces, one for the top bottom part of the boot and one for the top with a handle on the end of the lace. You just need to pull on each lace handle to get them tight before locking them off in the cleats and stowing the handle away in its holster.
Pros
Cons
Boa lacing system
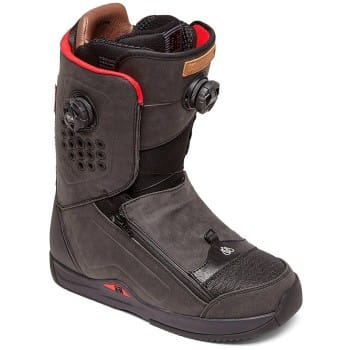
The Boa lacing system replaces traditional laces with a cable which can be tightened by turning a dial. Once you’ve got your boots nice and tight, the dial is clicked in and locks off the cable. I’d recommend going for a double Boa system which tightens the top and bottom of the boot independently.
Pros
Cons
Inner boot lacing system
Most entry-level boots come with an integrated lacing system which tightens up the liner but doesn’t hold the liner against the shell. These are fine for beginners but once you start to progress, you’ll need some extra hold around the ankle. An inner with a lace harness tightens around the ankle of the inner boot and holds it against the shell. This stops any heel lift between the inner and the shell and is a much better option for more advanced riders. Most boots priced in the mid-range and above come with this kind of inner lacing.
Snowboard Boot Flex
The other main consideration is the flex of the boot. How stiff or soft you want your boots to be can depend on a number of factors such as your riding style, your weight, and your ability, and it kind of follows the same pattern as how stiff you want your snowboard to be.
For beginners, you want a soft pair of boots so you can easily push into them and get the board to respond at low speeds. More experienced riders who want to go fast tend to go for a stiffer boot which is more stable and soaks up some of the bumps at high speeds.
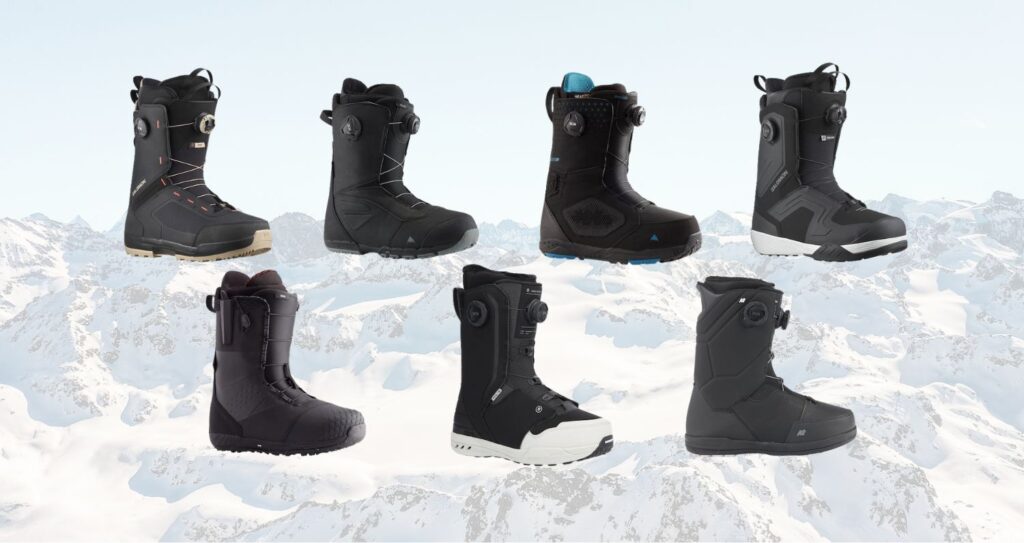
Stiffest Snowboard Boots
It doesn’t always follow that the better rider you are the stiffer boot you need. It’s important that you are able to bend the boot at the ankle so that you can push onto the toe edge so lighter riders won’t want to go too stiff even if they rip! For freestyle as well you’ll need a bit of a softer boot as you need to be able to push the board around and tweak out your grabs.
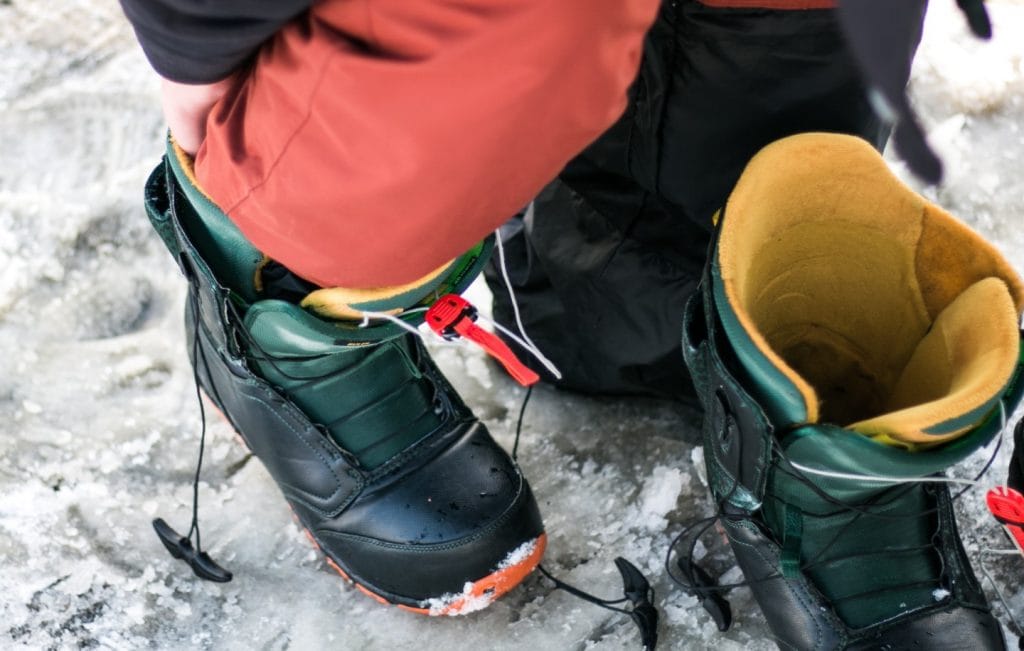
How to Break-in a Pair of Snowboard Boots
Even if you buy the perfect boots for you which are the right size, the right width and the right flex, you may still find that your feet hurt after the first few hours on the hill. This is why it’s important to take some time to break your boots. Especially if you’re away on a week’s vacation, you don’t want to lose any time messing around with your boots.
The best way to break in your new snowboard boots is to just wear them around the house for a few hours. Just the action of walking around will help mold the inner to your foot and smooth out any pressure points. Making sure the boots are good and tight will speed up the process. Some boots come with heat moldable liners, whereby you can speed up the process by warming them up with a hairdryer and slipping your foot in
Different Kinds of Boot for Different Kinds of Riding
As your riding starts to progress and you begin to focus on one kind of style of riding, you may want to look at getting a boot that suits your specific needs. For example, you might want a freestyle-specific boot for the park or a freeride-specific boot for the backcountry. These boots vary in the amount of support and feel they offer, as well as other, specific features that make them right for the job.
Wrapping Up
Hopefully this has given you an outline of how you can pick snowboard boots that fit well and are comfortable as well as suiting your ability and riding style. If you want to find out more, click through to some of my other articles where I go into more details.