
Find Your Board Size

Learn to Snowboard

Build Your Skills – Step by Step

Snowboard Selector’s Learn to Snowboard hub is an instructor-written progression guide for beginner-to-intermediate riders. It breaks learning into four stages, from first days on snow to confident intermediate riding, tells you what to focus on at each one, and helps you work out whether a problem comes from your technique or your gear before you spend money fixing it.

Where Are You in Your Snowboarding Progression?

Find the stage that sounds most like your last day out. Don’t overthink it. Each one tells you what to focus on, whether your gear matters yet, and which guides to read next.

Stage 1

First Days on Snow

Bunny slopes and gentle green

What it looks like

Strapping in, sliding, getting up (a lot), and learning to control your speed. Everyone starts here, and it’s where good habits are easiest to build.

Focus on

  • Side-slipping on your heel edge and toe edge until you can stop whenever you want
  • The “falling leaf”: traversing left and right on one edge
  • Getting up off the snow without burning all your energy

Gear check

Renting a board is a sensible call right now. Boots matter more: sore, loose boots end more first days than anything else.

Stage 2

Beginner: Learning to Link Turns

Green runs

What it looks like

You can get down a green run, but your turns feel like separate moves with a pause (or a fall) in between. Catching an edge is still a regular thing.

Focus on

  • Committing to the fall line through the middle of the turn instead of hesitating
  • Steering with your lower body, not throwing your shoulders around
  • Knees bent and weight over your front foot as you start each turn

Gear check

A soft, forgiving board toward the shorter end of your size range makes this stage much easier. A long or stiff board makes it harder.
Intermediate snowboarders

Stage 3

Lower Intermediate: Linking Turns Consistently

Greens and easier blues

What it looks like

You’re linking turns, but steeper pitches, speed or an icy patch still knock your confidence. You’re skidding more than you’d like to admit.

Focus on

  • Controlling speed with the shape of your turn instead of skidding
  • Riding on an edge through the turn rather than sliding sideways
  • Staying relaxed and centered on firm or icy snow

Gear check

This is often when riders outgrow rentals. If you’re riding more than a handful of days a season, your own setup starts to pay off here.
Intermediate-advanced snowboarders

Stage 4

Intermediate: Confident on Most Groomed Terrain

Most blues, with an eye on your first black diamond

What it looks like

You’re comfortable on most blues and starting to carve, ride switch, or try powder and the park. It’s also where a lot of riders plateau.

Focus on

  • Carving clean arcs on edge with less skid at the end of the turn
  • Riding switch on easy terrain until it feels boring
  • One new terrain type at a time: steeper groomers, powder, or park

Gear check

Flex, profile and length matter more now. But check your technique first. Nobody buys their way out of a plateau that’s really about stance.

Looking for a specific lesson?

Browse every Learn to Snowboard guide from our instructors, from first days on snow to riding powder.

Your stage changes what board suits you. The size calculator asks where you’re at now, not only your height and weight, so the recommendation fits the rider you are this season.

Stuck? Let’s Figure Out If It’s You or Your Board

If you’ve spent good money on gear and still feel stuck, you’re probably wondering whether the board was ever the problem. It’s a fair question, and one we work through with riders all the time.

When a rider hits a wall, Graham runs through a checklist from his CASI training called EE-TT-PP: equipment, environment, tactics, technique, psychology and physical. Most riders jump straight to blaming their technique. But equipment is the easiest thing to fix, so it’s worth ruling out before you start picking your riding apart.

Pick what’s happening on the mountain, and we’ll show you what we’d look for if we were riding next to you, and what we’d have you try first.

What’s happening?

I keep catching edges

Every rider does it. If it keeps happening, there’s a reason worth finding.

What our instructors see

  • Rushing the edge change, moving onto the new edge before the board is ready
  • Riding too slowly. Like a bike, you need a little momentum to balance
  • Letting the board drift sideways on gentle slopes, where the floating edge sits close to the snow
  • Swinging the tail around to turn on terrain that’s too steep for now

When to check your gear

  • You’re still catching edges after working on the technique side
  • Bending your board takes real effort, and it grabs rather than forgives when an edge change isn’t clean.

Try first: be patient through the turn. Feel the board flatten before you move onto the new edge, and look to the front of the board between turns so it keeps traveling across the hill.

I can’t link my turns

Sometimes it’s technique, but not always. Often one small change unlocks it.

What our instructors see

  • Practicing on terrain where your turn shape and timing fall apart
  • Turns that aren’t round enough, so speed builds and confidence drops
  • Going too slowly to balance, or too fast to focus on the movements
  • A missing building block: separate heel-side and toe-side turns, and getting back to center between them

When to check your gear

  • You can already make separate heel-side and toe-side turns, get back to center between them and control your speed, but still can’t link them
  • Bending your board takes real effort, or it feels like riding a plank. Try a softer board
  • Your boots feel roomy or cramped, or you’ve never checked that your bindings suit your boot size and are set to the right stance and angles

Try first: practice consistent, closed turns on easier terrain, then step up the difficulty gradually. If single heel-side and toe-side turns aren’t solid yet, a lesson is worth it. Taking one step back to move forward is fine.

I can’t control my speed

Usually tactics and terrain, not the board

What our instructors see

  • Spending too long pointed down the fall line
  • Skidding to slow down instead of using the shape of your turn
  • Turns that aren’t round, so each one adds speed

When to check your gear

  • The run itself. Steeper terrain gives you more speed in every turn, so get comfortable turning with some speed on gentler slopes first

Try first: use your ankles, knees and hips to make smaller, more complete turns. Smaller turns help control speed.

I feel unstable

Often body position, sometimes a board that’s too short or soft for you

What our instructors see

  • Riding too upright or too stiff, so your body can’t absorb what the snow throws at it
  • Firm or icy snow making you extra cautious and tense

When to check your gear

  • You lose control at higher speeds. That can be a sign your board is too short, since shorter boards absorb bumps less well and hold an edge less easily
  • Bumpy or chopped-up snow still throws you around, even once you’re riding lower and more relaxed. Shorter boards absorb bumps less well

Try first: get lower and use a fuller range of movement through each turn.

My toes or heels drag in turns

A setup issue, and sometimes a free fix

Check your setup

  • Strap in and look: are your boots centered across the width of the board? If not, adjust your bindings and toe ramp
  • Your binding angles may be too narrow for your boot size

When it’s your board

  • Your boots still overhang noticeably, even at wider angles
  • You wear US men’s 11 or US women’s 10 and up. You likely need a mid-wide or wide board

Try first: before buying a wider board, widen your angles, for example from +9°/−9° to +15°/−15°. Keep the total of both angles under 30° to protect your knees.

My feet hurt

Very common, and most of the time fixable without new boots

What our instructors see

  • Tension. At least half of Graeme’s first-day students say their feet hurt, and it usually fades as confidence grows
  • Knees pulling together or hips rotated forward, rolling your feet onto their inside edge

When to check your gear

  • Burning under your feet and calves on toe-side turns: boots or bindings aren’t tight enough
  • Numb, throbbing front foot only: bindings too tight. Both feet: likely the boots, possibly too narrow for you
  • Thermals or pant gaiters tucked into the boot, or a stance that’s too wide

Try first: only your foot and one sock go inside the boot. Tighten around the ankle so your heel can’t lift, and if your front foot throbs, loosen your bindings a couple of clicks on each chairlift.


About the Authors
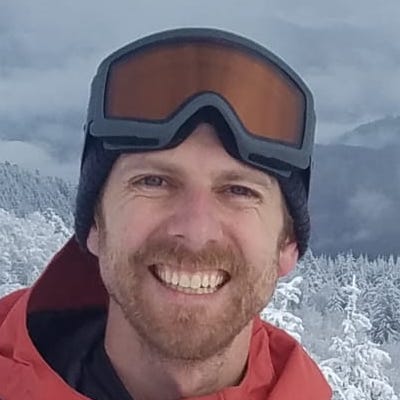
Graham Sinclair - Snowboard Selector

CASI Lvl 3, Park Lvl 1, CASI Evaluator

Graham Sinclair — Certified Snowboard Instructor & Lead Writer

Graham Sinclair is a certified snowboard instructor and gear testing enthusiast at Snowboard Selector. Having coached hundreds of students across every skill level, he focuses on how equipment setup directly supports natural body mechanics and turning progression. Every guide and tool he builds is rooted in hands-on teaching experience, biomechanics, and real student feedback on the slopes.
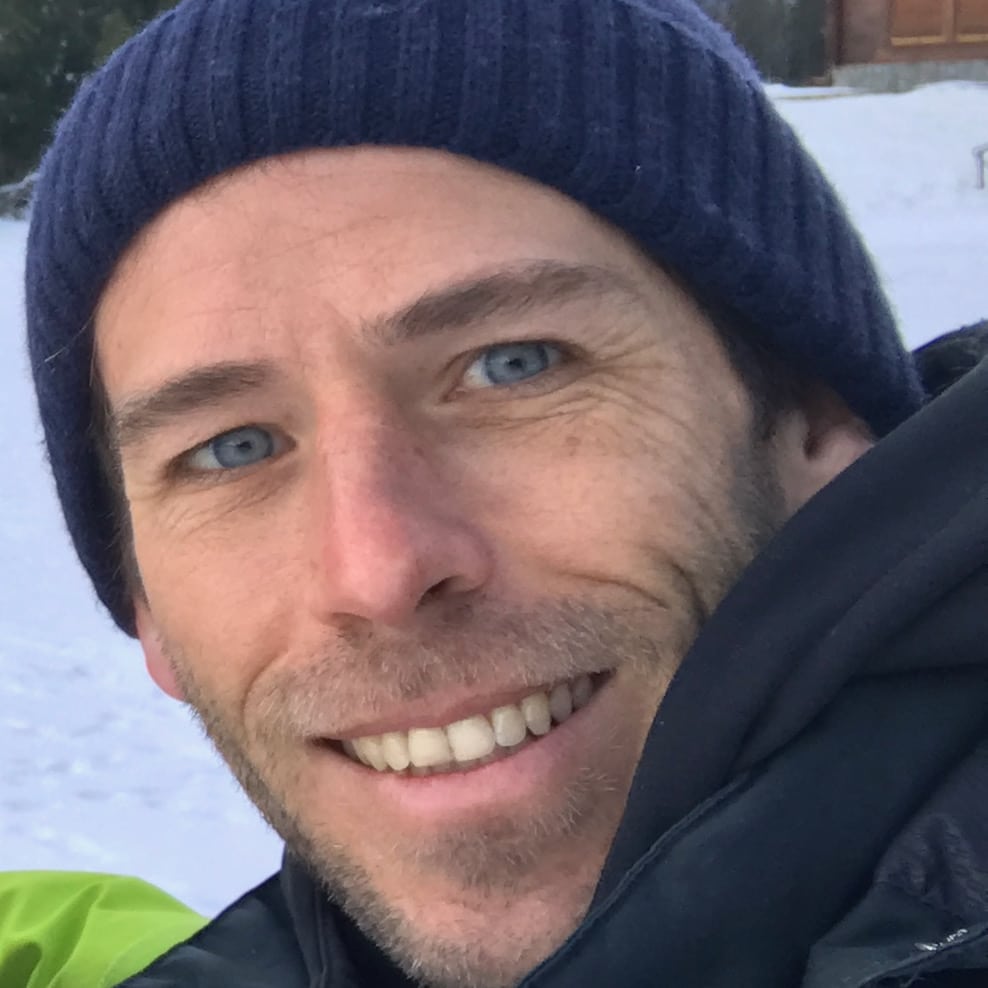
Graeme Gibson - Founder Snowboard Selector

BASI Lvl 4, Brevet Fédéral (Swiss)

Graeme Gibson — Founder of Snowboard Selector

Graeme Gibson is a lifelong rider who created Snowboard Selector to provide a clear, hype-free resource riders can genuinely trust. Having experienced almost every gear-sizing mistake and boot-fit frustration firsthand over years of riding all kinds of terrain, Graeme collaborates with professional instructors to simplify complex equipment dynamics into practical, actionable advice.


Learning to Snowboard: Your Questions Answered

Most people are sliding and stopping on gentle terrain within their first day or two, and many start linking turns within their first few days, especially with a lesson. Getting from there to confident intermediate riding depends far more on how many days you ride each season than on talent. Read the full answer.

Honestly? Not always the one you’d guess. Riders tend to blame their technique first, but equipment is the easiest thing to fix, so it’s worth ruling out. Our instructors look at equipment, terrain and conditions, tactics, technique, confidence and fitness before deciding what to change. Use the check above.

For most beginners, yes. A good lesson in your first few days saves a lot of falls and bad habits. Later on, one targeted lesson is often better value than new gear if you’ve plateaued. Our honest take.

Not necessarily. Renting a board for your first few days is a sensible call. Boots are the exception: if you’re riding more than a handful of days, well-fitting boots of your own make a bigger difference to learning than any board.

Use turns as the marker. Still learning to link turns means beginner. Linking turns consistently on greens and easier blues means lower intermediate. Confident on most groomed terrain means intermediate. Find your level.

Ride more days, work on one skill at a time, and make sure your gear suits the level you’re at now rather than the level you hope to reach. A board that’s too long or too stiff is one of the most common things slowing newer riders down.

Snowboard Selector

We may earn commission on the purchases you make through link clicks at no additional cost to you.

Find Your Board Size

Privacy Preference Center