How to choose the right snowboard binding for your setup: What kind of bindings, what size and how to set it up. Plus best kind of binding for beginners, freestyle and freeride
Why snowboard bindings are important
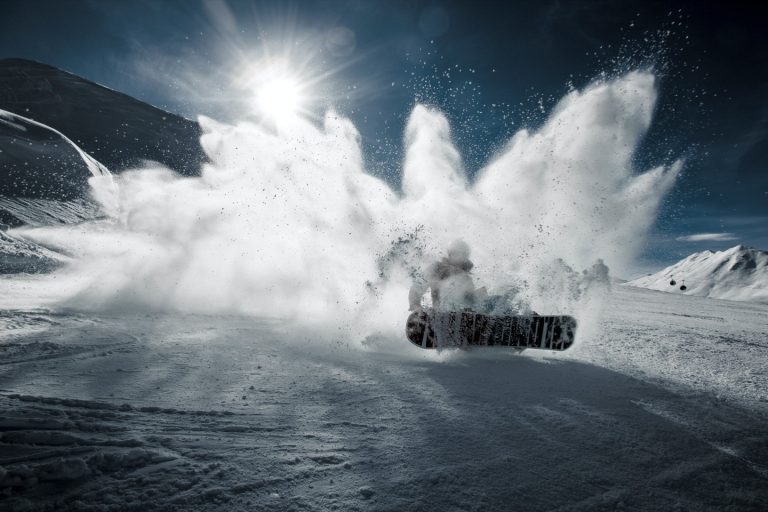
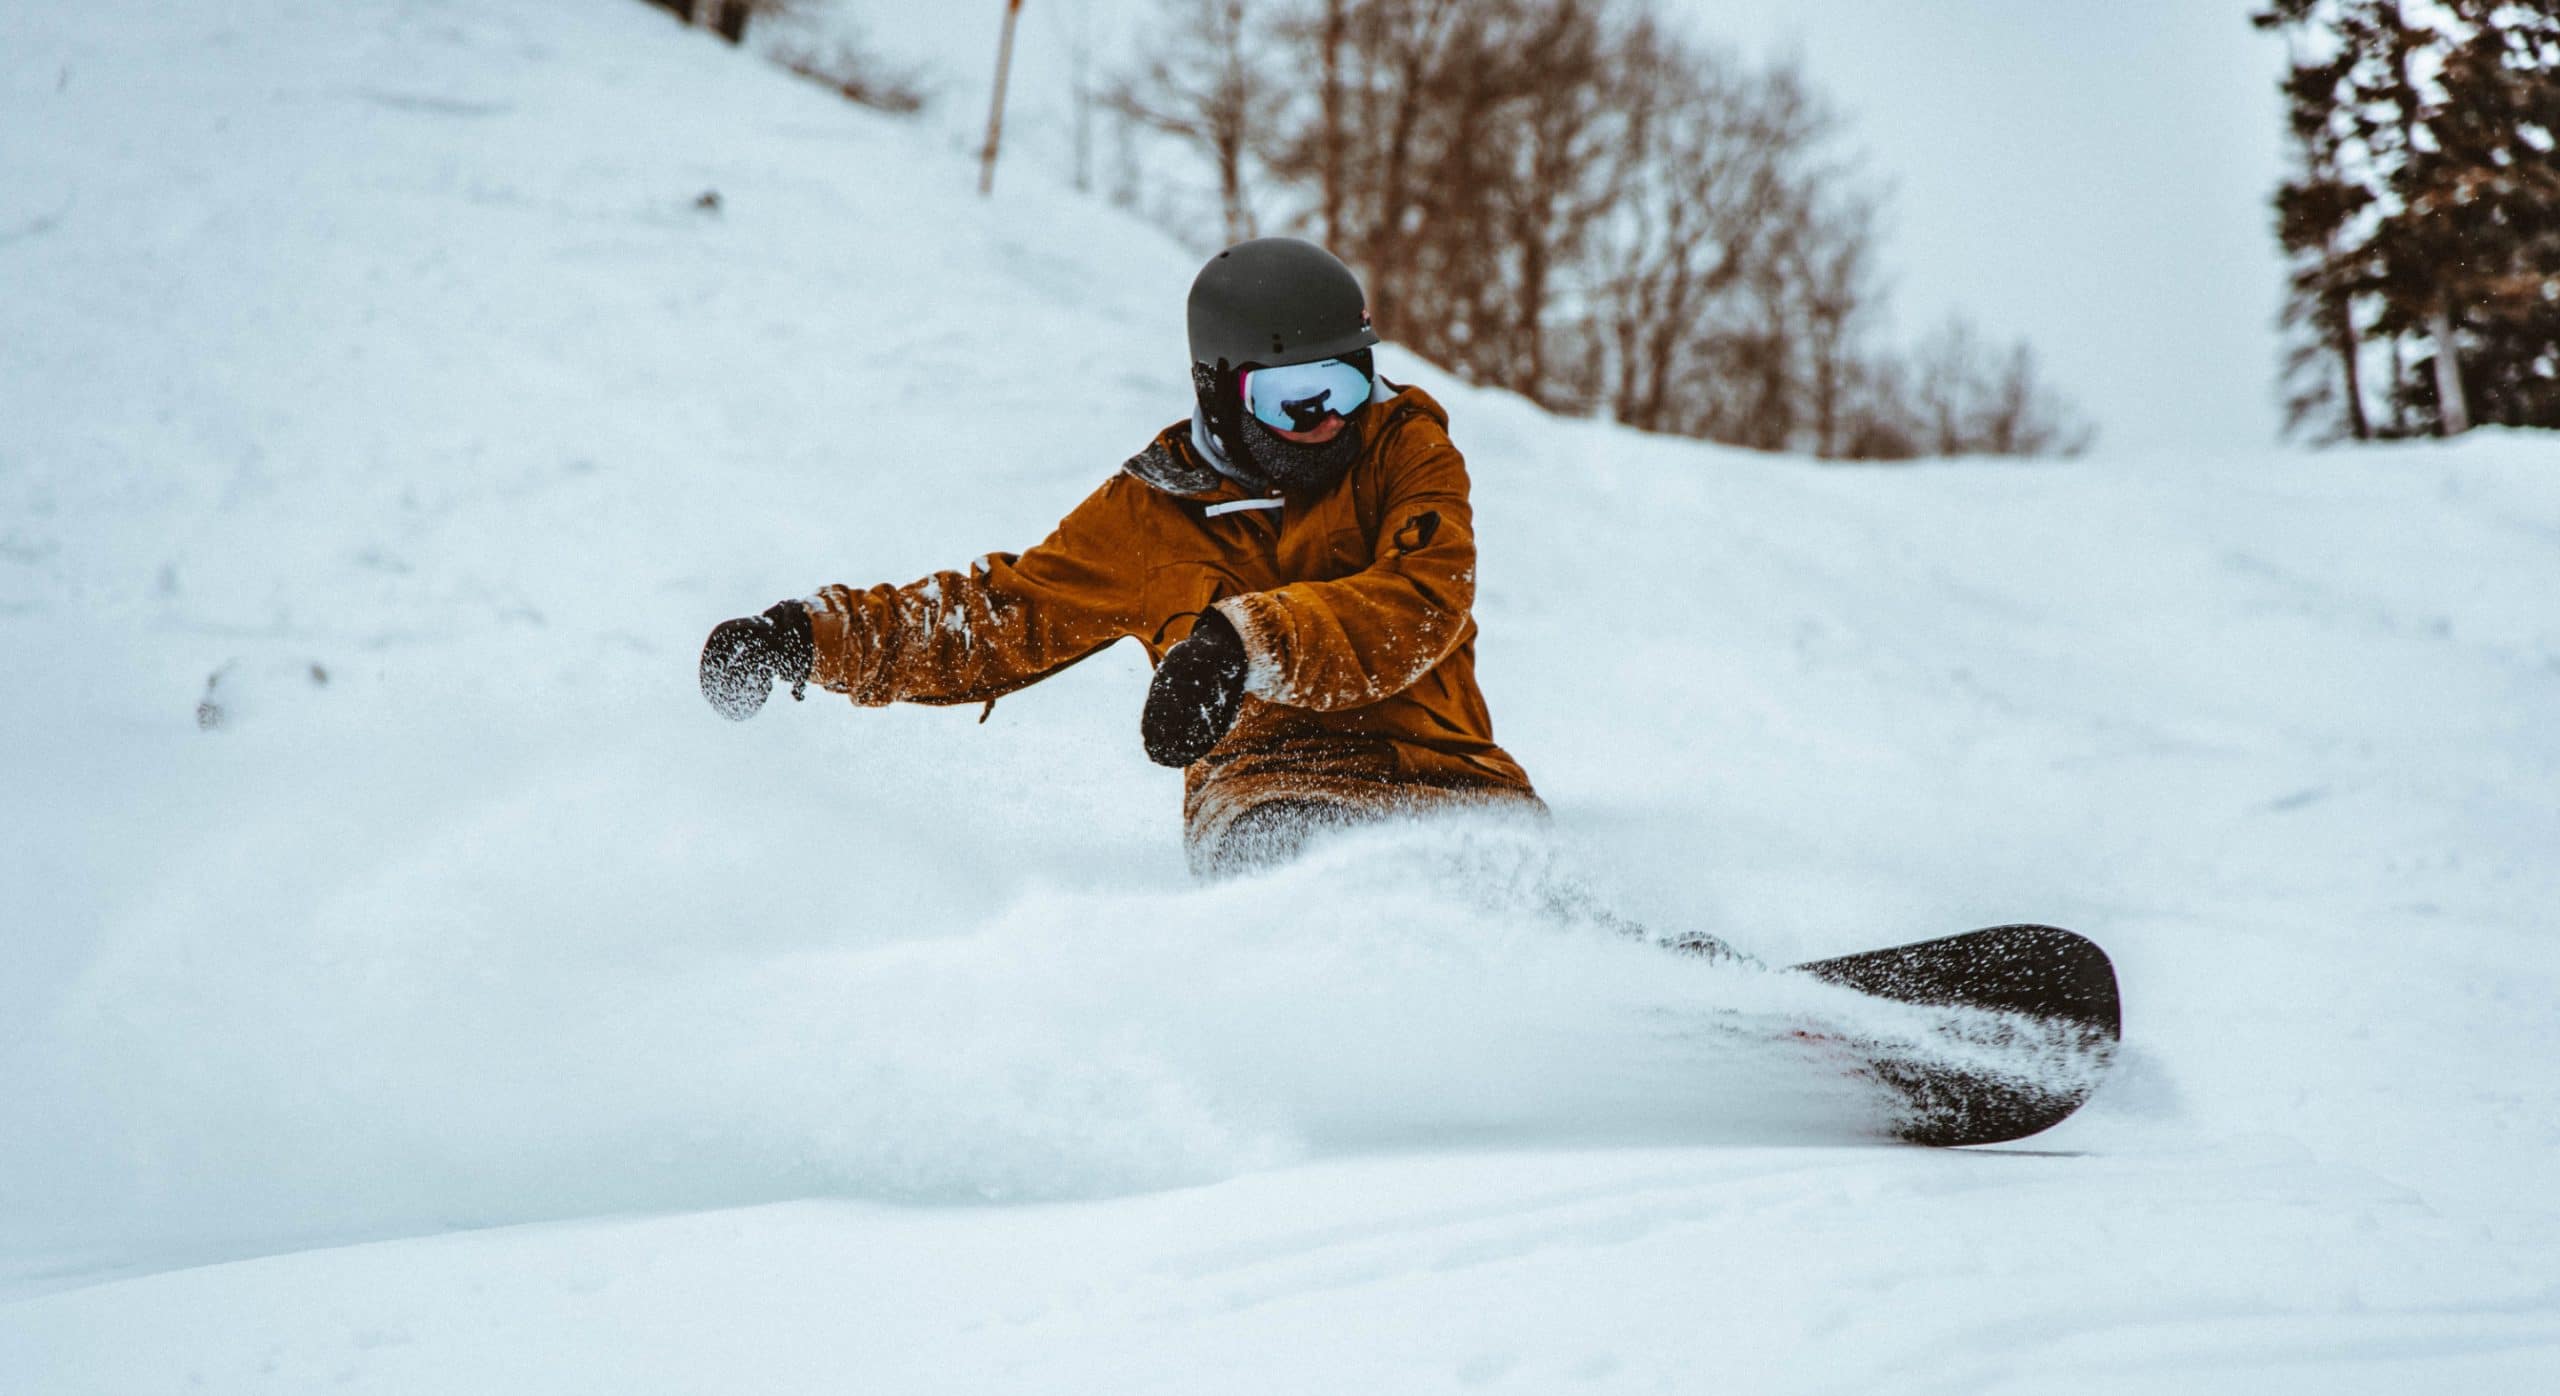
Your bindings are the interface between you and your board and their job is to transfer all your movements into your board. Badly fitting or loose bindings can mean a lack of response from your board and really affect your riding. They can cause your foot to move around, your heel to lift and for you to generally have a lack of control of your board. Here we’ll explain what to consider when choosing a binding, how to set them and what types of riding suit different kinds of riding.
What snowboarding bindings should I get?
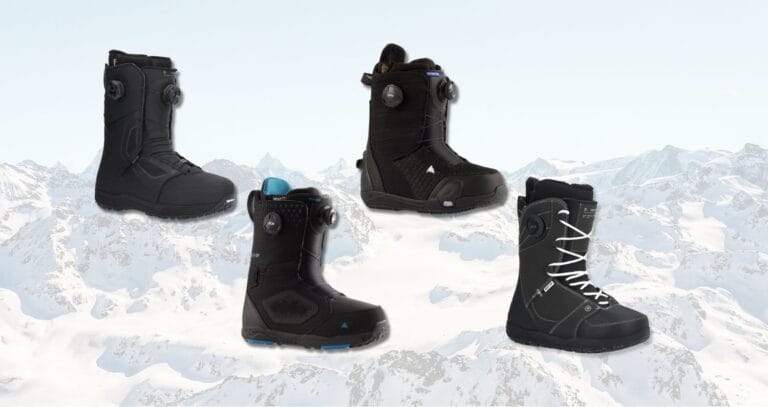
Strap bindings
Strap bindings are the most popular form of bindings which almost all binding manufactures make. These bindings are made up of a heel strap and a toe stap which ratchet up until your foot is firmly held in place. They may seem a bit old school, but in my opinion and the opinion of most snowboarders, they still do the best job.
Rear entry snowboard bindings
Rear entry bindings have also been around for years most famously from Flow. They differ from strap bindings by opening up at the back with a hinged high-back, which allows you to slide your foot in and close it back up. This is supposed to make it easier and quicker to fix your foot in. Whilst this might be true if you can ride straight off the lift and have the balance to get your foot in standing up, in my experience they are harder to get into when sitting down.
Step in bindings
Back when I started snowboarding in the early 2000’s there was a whole heap of step in bindings on the market, pretty soon though everyone realised they didn’t work that great and step-ins disappeared from the shelves…until 2018 when Burton thought they’d give it another shot. The Burton StepOn binding is made to work with any Burton StepOn boot. The boot clicks in a fixes to the binding in 4 locations – one on either side of the toe and one on either side of the heel.
I was able to test them this winter for a day and was surprised how well they worked. It felt weird not having any straps holding my feet in place but once I got riding they felt pretty similar to traditional bindings. I was able to ride straight off the lift and click in (useful if you ride with impatient skiers), but still they’ll be hard to click into sitting down for beginners. Only negative I experienced was trying to put them on in powder when there is nothing solid under the board to push against to get them to click.
How snowboard bindings should fit
Whatever kind of binding you are using, when setting them up there are 2 things that you are looking for to get the perfect fit:
Hold your boot securely
Be comfortable
On the most commonly used strap bindings there are 3 parts of the binding which can be adjusted to make them do their job properly:
- The heal and toe straps
- The toe ramp
- The Highback
What size snowboard bindings should I get?
Picking a binding size depends solely on your foot size. If you are borderline between the sizes I'd recommend going for the smaller size – you'll save a bit of weight, although its worth trying them before you buy if you can. See all snowboard binding sizes by brand here
| Binding Size | Men's shoe size (US) | Women's shoe size (US) |
|---|---|---|
| S | 6 – 8 | 4 – 6 |
| M | 8 – 11 | 6 – 8 |
| L | 11+ | 8+ |
How to adjust snowboard bindings
A Lot of the parts on snowboard bindings have tool free adjustment so you can tighten and fine-tune on the fly but for the initial set you'll most probably need a phillips screwdriver
Heel and toe strap adjustment
The heel strap should sit across the middle of your foot so that the strap is long enough to easily connect with the ladder but not too long so you can't get the strap tight enough.
The toe strap sits around the end of your toe and should be adjusted the same as the heel strap so it goes around the middle of your foot. To adjust the length of either strap take out the screw on the side of the strap and slide up or down a hole or two.
Highback adjustment
The job of the high back is to help you transfer from the toe edge to the heel edge by giving something to push against with the back of your boot. How you have your highback set up is down to personal preference and can affect how responsive you want your board to be.
Less angle (more vertical position) gives a looser, less responsive feel. This is great for beginners and for freestyle as the extra room to move helps you get more tweak into your grabs and helps you stomp deep landings without rocking onto an edge.
More angle gives a more aggressive, responsive feel which is great for boardercross or more technical freeride lines where you want maximum control over your board.
To change the angle, there is a little adjustment at the base of the highback which sits on top of the heel-cup. How you adjust it varies between brands but the principle is the same: make it longer to increase the angle or shorter to decrease it.
Toe Ramp Adjustment
The toe ramp affects how much pressure you can on your toe edge. To check its set up right, put your boots on and strap into your bindings, as you rock forward onto your toe edge you should feel like your big toe is pushing right on the edge of the toe ramp.