The angle of your bindings and the stance width between the bindings can have a huge effect on how your snowboard rides. So before you reach for the screwdriver there are a few things you should think about:
How to work out if you’re regular or goofy
If you don't know already then the first thing you’ll need to work out is whether you’re regular or goofy
- Regular means you ride with your left foot forward
- Goofy means you ride with your right foot forward
In my experience of teaching people to snowboard, about 65% of people are regular and about 35% are goofy.
Also it doesn't seem to follow that if you are right handed or right footed that you should be regular. I’m right-handed and I absolutely cannot kick a soccer ball with my left foot but I ride goofy. So what are the best tests to work out if you are goofy or regular?
Here’s a few that I always try when teaching first-timers, which ever foot you lead with is the one you should have at the front of your snowboard:
- Push in the back and see which foot comes forward first
- Step up onto a high box
- Run and skid on a patch of ice or other slippery surface
After all those if you are still unsure then don't stress too much, learning to snowboard involves a lot of sliding in both directions so you’ll have plenty of time to feel it out.
how to check your stance width and angles
So now you know which way you stand on the board, it's time to mount up the bindings so you can strap in.
There are 3 things to think about when mounting your bindings:
- The stance width – this distance between the two bindings
- The binding angles
- The stance setback – if you want to stand in the center of the board or more to the tail
Snowboard Stance Width
Most boards come with a recommended stance width, so as long as you’ve chosen a board that is the right size for you then this is a good place to start. Put the board on the floor without the bindings on then jump on top with your feet in the recommended stance position. Next try going an inch or two wider than the recommended stance, then the same but narrow and see how these feel.
Best stance width for freestyle
If you look at old footage from 10 years ago you’ll notice riders had much wider stances than they do now. Snowboarding goes through all kinds of fashions and fads but the top guys these days with all the sports science behind them seem to ride narrower stances. Wonder kid Marcus Klevland rides a much narrower stance than Shawn White…and it seems to be working for him! A lot of top pros ride the recommended stance width for the their specific board
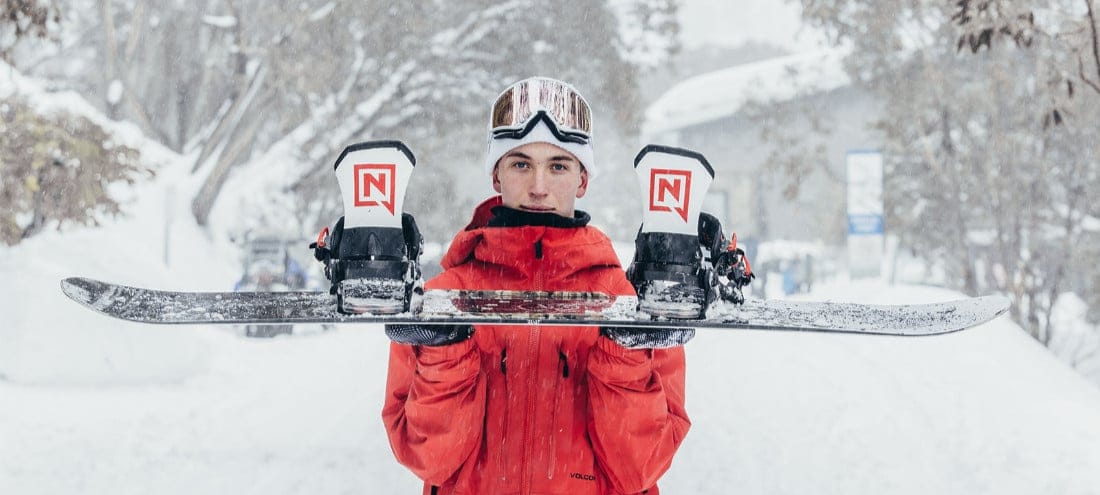
Snowboard Binding Angles
As with stance width, the binding angles you ride are also a lot down to personal preference and how you are put together. A good starting point is to look at how your own body works. Try jumping off a step into the snow and then taking a look at your footprints, try and use those angles as a starting point. Whatever angles you ride you should try and maintain these angles between your feet to be as natural to you as possible.
The size of your binding can also affect the angle of your bindings to avoid heel or toe drag. Larger size bindings take up more space across the board and can start to drag in the snow when turning. To avoid this you can increase the angle of your bindings so that they're not so much aligned across the board.
Most bindings, from all brands go up in increments of 3 degrees.
Freestyle Duck stance
If you want to get into freestyle then you’ll need to be able to ride switch. A duck stance makes this easier with both feet pointing out towards the ends of the board. This makes it easier to ride switch without having to twist your body or putting strain on your knees. A true duck stances has the same angles on the front and the backfoot eg: 15, -15 but most riders have some more angle on the front foot for example 21, -9.
Duck stance is also a good option for your first day on a board when you’ll be doing a lot of sliding in both directions and maybe still working out if you’re regular or goofy
Freeride stance
If you just want to slay the pow and carve on the groomers then you might what to try out a plus plus stance, something like 6 in the back foot 24 on the front foot which still maintains an angle of 8 between the feet, equivalent to a -6 12 duck stance.
How to mount your binding
Now that you’ve worked out your stance width and binding angles it’s time to mount up your board. If you go to any snowboard shop you’ll notice that different boards have different ways of mounting bindings, these are:
4×4 hole pattern
4×2 hole pattern
Slider system
Basically, with binding mounting there's the Burton way and then there's everyone else. The traditional way of mounting bindings is with 4 bolts per binding which screw into the board in 4 holes. These holes are set out in two rows and spaced out at about an inch. This means you are somewhat limited in how you space out your bindings.
