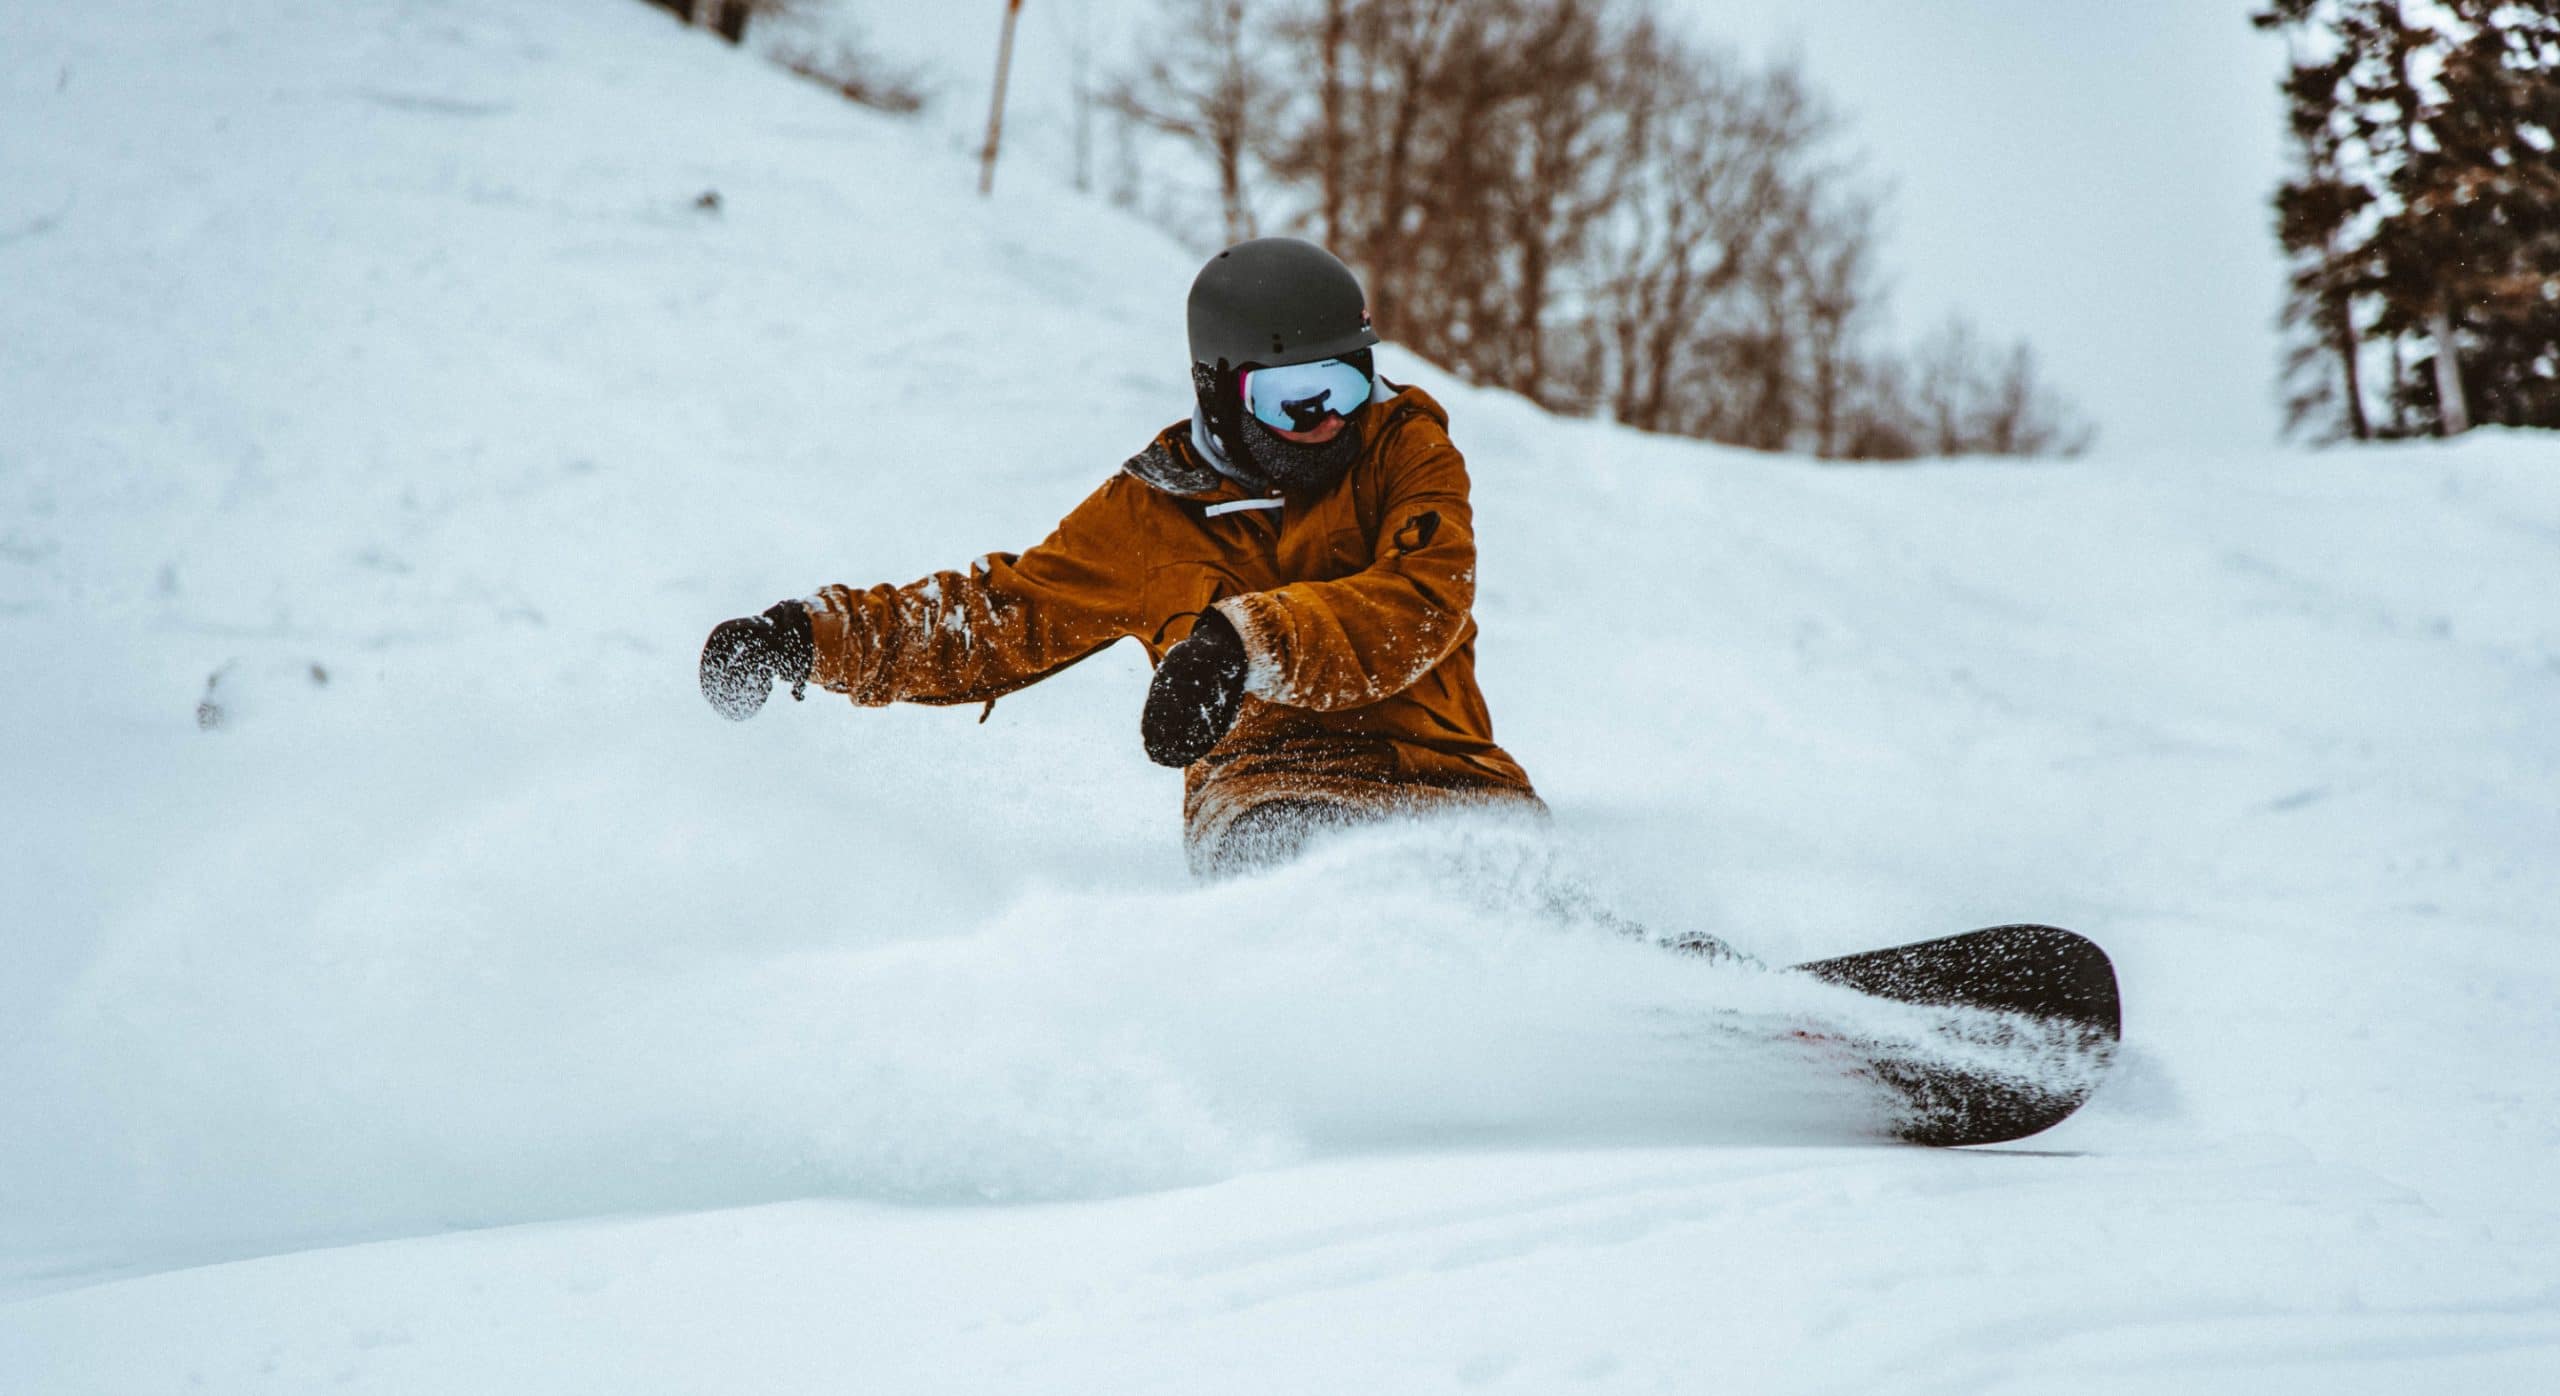
You might be asking, “Why is it important to properly store my snowboard in the off-season?”
Simply put: snowboarding equipment is an investment. Taking care of your gear properly will let you enjoy that investment for many seasons to come.
If snowboard equipment is not stored properly, it can suffer damage or decrease in performance prematurely, requiring you to send it in for expensive repairs or purchasing new gear altogether.
Through our expert tips, this article will cover best practices for gear storage to make sure you know how to store a snowboard so that it is shred-ready when the snowflakes begin to fall.
Can My Snowboard Gear Really Be Damaged In the Off-Season?
Yes, your snowboard gear can be damaged during the off-season in some of the following ways:
- Rusted edges – Rust eats away at metal and your snowboard edges are metal. Not cleaning, drying, and protecting your edges with a layer of wax before off-season storage leaves the door open to rust damage.
- Water infiltration – Water infiltration is the worst enemy of a snowboard, as it can cause expansion and delamination within the layers of a snowboard. Filling any holes in the base or cracks in the sidewalls before storage is key to ensure this does not happen to your gear.
- Softened flex – Snowboard flex ranges from soft to stiff, depending on your riding preferences. If there is any weight on your snowboard, it can cause it to soften during the off-season.
- Damaged inserts – Binding inserts are the female screw holes in your snowboard. Even if your snowboard uses the channel system, it is best practice to remove your bindings for storage. Keeping your bindings mounted maintains pressure on the inserts and can actually pull them through the top sheet over time.
Coming up next, we’ll cover the process of putting your gear into storage for the off-season to keep it in optimum shape.
Clean, Inspect, and Prepare Your Snowboard Gear for Storage
Cleaning and inspecting your gear, the first step in preparing your snowboarding gear for storage, only requires about thirty minutes and a few tools. Here is a list of what you might need:
- Base cleaner / Soap and water mixture
- Snowboard wax
- Waxing iron
- Snowboard scraper tool
- Screwdriver to remove bindings
- P-Tex
- Wire brush or Scotch pad
- Gummy Stone
- File
With your gear assembled you should do the following:
- Remove your bindings
- Visually inspect your gear
- Repair any issues
- Tune your edges
- Clean your snowboard
- Apply storage wax

What to look for in a visual inspection of snowboard gear
Visually inspect the following parts of your snowboard:
- Base – Look for deep scratches in the base, especially core shots (i.e., you can see the wood core)
- Edges and sidewalls (i.e., the side of the board) – Look for cracks and indents
- Topsheet – Look for deep scratches and make sure the binding inserts are level with the topsheet and undamaged.
Repairs and when to go to the shop
The following types of damage should be left to the professional technicians working in a tuning shop:
- Core shots
- Major impacts to edges and sidewalls
- Binding insert issues
Shallow scratches, and minor cracks can be repaired at home
- Shallow scratches can simply be filled with wax and slightly deeper ones might require being filled with P-Tex first.
- Minor cracks in the sidewalls need to be waterproofed with a thin coat of P-Tex or silicone.
- Minor cracks in the edges are not a major concern as long as there is no water infiltration. They happen in the lifespan of a snowboard and are just part of the game.
Binding inspection
After unmounting your bindings, look for any cracks in the plastic or metal. Cracks in the baseplate, highback, or heel cup can reduce performance and should be addressed.
As opposed to cracks or tears in binding straps which are common and can easily be replaced, discovering cracks in the bindings themselves means that you’ll most likely need to purchase a new set.
Tune your edges
- Remove any burrs and rust on the edges of the board using a gummy stone.
- Sharpen the edges using an edge sharpener.
- Place the guide of the sharpener securely on the base with the file along the edge.
- In one smooth motion, gilde the sharpener along the edge in the direction that gives the most resistance. Repeat as necessary until the desired sharpness is achieved.
- Use a gummy stone to remove any rust and to smooth out any burrs leftover from tuning.
Clean your snowboard gear
After unmounting your bindings, conducting a thorough inspection of all your gear, sharpening the edges, and making minor repairs, it is time to clean your board. The following steps will take you through the process:
- Use your snowboard scraping tool to remove any excess wax on the base.
- Prepare your base cleaner or soap and water mixture.
- Using a roll of paper towels, clean the base, just like you would a table, until there is not more dirt on the paper towel.
- Do the same on the topsheet.
- Dry thoroughly with some paper towels.
- Use a toothbrush to remove any dirt from the binding inserts.
Apply storage wax
Storage wax is an unscraped layer of wax left on your board during storage. The layer extends over the metal edges of your snowboard.
Storage wax is applied to protect the base and edges from air, humidity, and water during the off-season.
Storage wax is applied to a clean base in the following way:
- Lay the board down, base up, on something which keeps it stable and level.
- Heat your iron and prepare your wax.
- Melt your wax with the iron so that it drips in a uniform pattern all over the base, including near the metal edges.
- Make several passes over the dripped wax on the base with the iron until the layer of wax is uniform and covers the base and edges entirely.
- Let it cool down and dry.

Ideal Snowboard Storage Conditions
Snowboards can be stored horizontally or vertically, as long as there is no weight placed on the board.
Storage places need to have constant temperature and humidity. Under your bed or in the back of your closet is a suitable place for storage, as long as nothing is leaning or placed on the board.
If stored vertically, you can place a piece of cardboard or carpet under the tail to protect it. Ideally, your gear is stored in a board bag to give it maximum protection.
Places to avoid are attics, basements, and garages where humidity and temperature can fluctuate during the off-season.
Boots, Bindings, and Outerwear Storage
The golden rule for storing textiles, such as boots and outerwear, is make sure they’re dry and keep them dry.
To help your boots keep their shape, tighten the laces or boa while in storage. It is also best practice to fasten any open zippers and fold your outerwear in such a way that to minimize creases.
To protect against humidity, place your boots and outerwear in a plastic storage bin and throw in some of those silica packets you get in packaging to absorb any latent humidity.
Bindings can be stored anywhere, as long as the straps are locked together to protect their shape and there is no weight placed on them.
Conclusion
After reading this, you should know why it is important to store your snowboarding gear properly and how to do so.
Removing your bindings, inspecting your gear, repairing any issues, tuning your edges, cleaning the base, applying storage wax, and storing your gear in an appropriate place will ensure you’re ready to rock when the snow starts falling.
For a guide on how to tune up your gear when it’s time to hit the slopes, check out our dedicated article on Snowboard Maintenance.