Sharp edges grip better and well-waxed bases slide better, meaning that a well-tuned snowboard will actually help you perform better on the mountain.
You’ve invested time and money into selecting and purchasing your snowboard gear. The easiest way to protect that investment is to do some basic snowboard maintenance.
This article will go over the basics of doing a quick snowboard tune up during the season and give you some tips on how to maintain your gear in the off-season.
How Often to Maintain Your Snowboard
Snowboard gear maintenance can be broken down into daily, periodical, and end-of-season tasks.
The daily tasks are quick, simple, and will keep your snowboard working optimally.
How often you need to perform the periodical tasks depends on a few factors:
- Days on snow
- Some people do 20 days a month, others do four.
- Wax Type
- Rub-on wax rubs off quicker than hot wax
- Snow Conditions
- Icy, hard conditions make wax rub off more quickly than light, powdery conditions
To read more details specifically about waxing, check out our dedicated article How Often Should I Wax My Snowboard?
The end-of-season tasks, done once a year, are a bit longer but are worth the time and effort in order to protect your gear and make sure it’s ready to go when the snowflakes begin to fall.
How to know when it’s time to tune up your snowboard gear
The tell-tale signs of when it’s time to tune up your snowboard are:
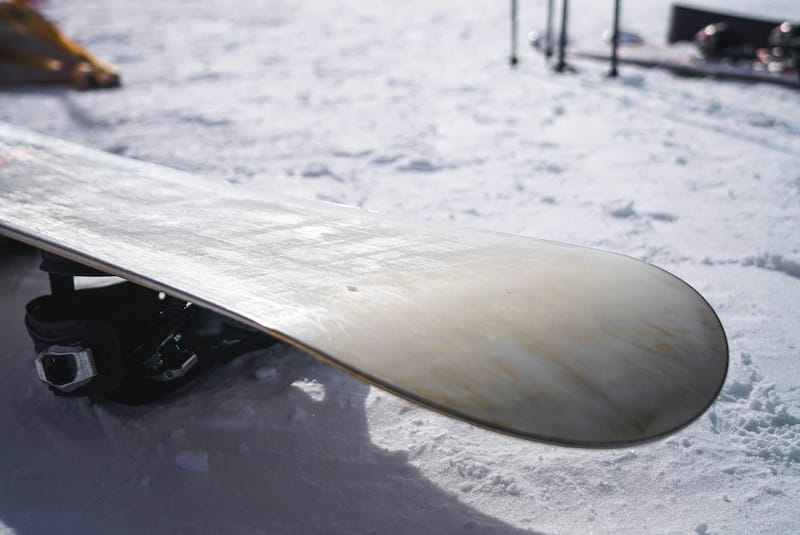
- Your snowboard feels like it’s sticking or dragging a bit on the snow.
- You are going more slowly than your friends on the same run.
- The base of your snowboard begins to look white and dry near the edges.
- You slip and don’t feel a lot of grip from your edges.
It's possible you have just waxed your snowboard and it’s still going slow– the reason is most likely because you chose the wrong wax.
Waxes are geared towards specific temperatures and we dive into the wide world of wax later on in this article.
Keep reading to learn more!
Daily snowboard maintenance tasks
Making a habit of performing these simple tasks after every day on the mountain will help keep your gear in the best condition possible.
- Snowboard – Wiping down the snowboard edges to remove any water.
- Water can create rust if left.
- Bindings – Checking all binding screws and tightening as necessary.
- Screws do get loose over time; avoid losing a strap by keeping screws tight.
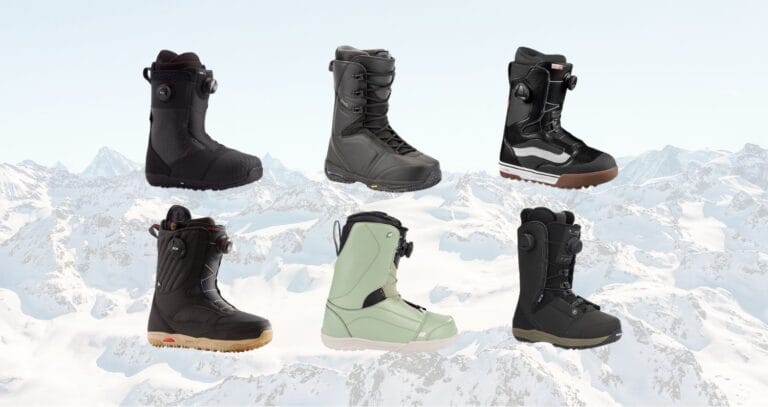
- Boots – Dry thoroughly and lace up for storage.
- Remove liners and footbeds for drying; once dry, lace up to help keep shape.
Periodical snowboard maintenance tasks
In addition to the above daily snowboard maintenance tasks, the following tasks should be performed at various periods throughout the season to make sure your gear is performing as optimally as possible.
How often you’ll need to perform these tasks is dependent on the factors we outlined in the intro to this section:
- Type of wax
- Days riding
- Type of riding
- Snow conditions
The tasks you’ll want to complete are:
- Snowboard waxing
- Edge sharpening
After covering what tools you will need, we’ll cover the details on how to perform these basic snowboard maintenance tasks.
End-of-season snowboard maintenance tasks
Properly preparing your snowboard gear for storage will make sure it doesn’t get damaged and that it keeps its performance levels while laying dormant.
Some of those tasks include, but are not limited to:
- Thoroughly cleaning and drying all your equipment
- Damage assessment and repairs
- Storage wax
For a full run-down on how to properly store your gear in the off-season, check out our dedicated article, How to Store Your Snowboard in the Off-Season.
What’s in a Basic Snowboard Tuning Tool Kit?
To be able to perform a basic snowboard tune up, you’ll need a few tools and a bit of time.
You’ll also need to learn the basics of the wide world of wax.
Basic snowboard tuning tools
The basic items you’ll need to complete your tool kit are:
- Tuning vices
- Dedicated snowboard tuning vices will keep your snowboard secure and level while you work on it.
- A DIY alternative is to use a stack of books that you don’t mind possibly damaging.
- Edge Sharpener
- An edge sharpener has built-in guides to make sure you are sharpening your edges to the correct angle. Do not try to sharpen your edges without one.
- Waxing iron
- A proper waxing iron does not have holes in the hot plate, unlike clothes irons, but rather is one solid piece of smooth metal.
- In a pinch, you can always use an old clothes iron, but don’t use it on your clothes again unless you want snowboard wax on your clothes!
- Wax scraper
- Try to get a snowboard-specific wax scraper rather than a ski scraper– they are wider and will allow you to scrape the entire width of the base in one movement.
- Wax
- Check the subsection below for an introduction to the wide world of snowboard wax.
With the above items, you will be able to perform basic snowboard maintenance.
As your tuning knowledge grows, you can always get more elaborate with your kit by adding items like:
- P-Tex sticks
- Texture brushes
- Gummy Stones
Which snowboard wax to choose?
The amount of different snowboard waxes available on the market can be a bit overwhelming, but there is a fine reason for each.
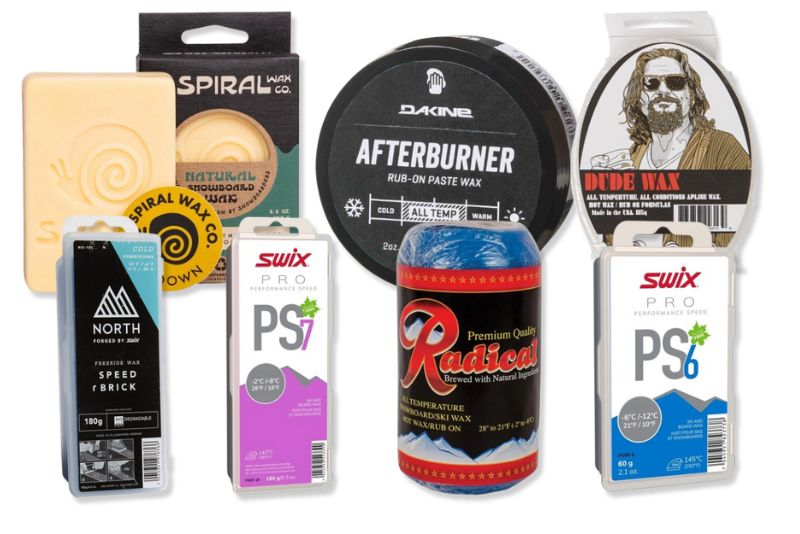
Waxes are built to meet specific temperature conditions, and if you want to make it easy on yourself you can simply buy an “All-Temperature” or “Universal” wax.
The temperature ranges for waxes are always listed on their product labels.
There are two main types of wax:
- Rub-on wax– aka speed sauce, which can be good to keep in your pocket if you feel your snowboard sticking to the snow.
- Hot wax– which is the type of wax that you iron into your board during proper maintenance sessions and keeps your board faster for longer.
Traditionally, snowboard waxes have used a lot of hydrocarbons and other chemicals to make them work, but there are now tons of environmentally-friendly waxes available on the market.
The main wax types are as follows:
- Universal or All-Temperature wax
- Warm temperature wax
- Cold temperature wax
You can purchase these waxes individually, or buy a wax kit that has all three.
Another type of wax, graphene wax, also exists and is made for light, powdery conditions. The graphene prevents snow and other particulates from sticking to the base of the snowboard.
Basic Snowboard Tune-Up Steps
Armed with your tool kit, you are now ready to learn how to do basic snowboard maintenance. It consists of two tasks:
- Waxing
- Edge tuning, or sharpening;
How to wax a snowboard
The following steps will guide you through waxing your snowboard:
- Plug in and heat up your iron.
- Remove your bindings.
- Place the snowboard, base up, on supports so that it is level and secure.
- Clean the base with a base cleaner or a paper towel.
- Drip wax along the entire length of your board from edge to edge in a criss-cross pattern, by holding the wax against the iron above the board.
- Iron the base of the board, re-melting the dripped wax, until the entire base is evenly covered in wax. Continue ironing for a while longer to allow the wax to enter the pores of the snowboard base.
- Allow the wax and snowboard to cool down.
- In one long motion, scrape off the wax from tip to tail. Repeat the motion until no more wax is being removed with each stroke.
- Use the corner notch in your snowboard scraper along the edges to remove any excess wax.
It might seem counterintuitive to remove the wax you’ve just put on your board, but rest easy, there is plenty of wax in the pores of your snowboard base.
Finally, safely dispose of the wax residue in a trash bin, and mount your bindings– unless you’re planning to tune your edges.
How to tune snowboard edges
When sharpening edges it is possible to choose a bevel angle ( i.e., the angle of your edge to the snow) of 88° or 90°.
To begin, try 90°. If you feel like you still need more grip, try 88°, but be aware that it can be challenging to go back to 90° because you are actually removing metal from the edge.
The following steps will guide you through tuning your edges:
- Unmount your bindings.
- Place the snowboard, base up, on supports so that it is level and secure.
- Ensure your bevel angle is selected (88° or 90°).
- Place the file guide so that the guide is against the base of the snowboard and the file is along the edge.
- Try small practice strokes in both directions– the direction with the most resistance is the direction you will do the rest of the strokes.
- Beginning at one end of the board, file the length of the edge in one long stroke while keeping the guide flat against the base.
- Repeat this motion until the edges are as sharp as you desire.
- Repeat the same process on the other edge.
- If you have one, use a gummy stone to remove any burrs that have accumulated along the edges.
DIY vs Professional Tune Ups
There’s a certain satisfaction that comes from tuning your own snowboard, but you can always pay the professionals to do it for you– and they’ll do it really well.
Honestly, there’s nothing like the feeling of a professionally freshly-tuned snowboard. If you really want to fly down the hill, consider heading to your local tuning shop.
Moments where you really should pay the professionals are when it comes to advanced repairs. Advanced repairs are related to damage such as:
- Core shots– when you can see the wood core of the board through a deep scratch in the base.
- Edge damage– if your edge is cracked or smashed in, it’s best to seek professional advice.
- Water damage– if there is any swelling along the board due to water infiltration, it’s best to see a professional.
If your base just has a few shallow scratches, often they can be filled in with a coat of fresh wax. If they are a bit deeper, then you can perform a little DIY base repair.
The next section will cover the tools you need and steps to do it.
How to repair your snowboard base
To perform minor repairs to your snowboard base, you’ll need two additional tools:
- P-Tex sticks
- P-Tex sticks are used to repair damage to the base of your board and are usually available in both black and white.
- Steel scraper
- Your plastic wax scraper can get damaged if scraping P-Tex, which is harder than wax.
The following steps will guide you through performing minor base repair:
- Unmount the bindings, place the board on a secure and level surface with the base up.
- Clean the base and identify the deep scratches to fill with P-Tex.
- Use a flame, ideally a hot blue flame such as from an acetylene torch, and light the end of the P-Tex stick.
- While trying to keep the flame blue rather than yellow to avoid dripping carbon into the mix, drip melted P-Tex into the scratch you are repairing.
- Once filled, carefully blow out the P-Tex stick away from your body and board.
- Allow the P-Tex to cool.
- Scrape the P-Tex until it is level with the rest of the base.
- Wax your board following the instructions in the previous section.
It should be stated again, if you can see exposed wood in the scratch, this is called a core shot and should be thoroughly dried before attempting any work. It is recommended to have core shots repaired by professionals.
Conclusion
Building a board-maintenance habit into your life as a snowboarder will keep your gear in top shape and help you ride at your highest levels.
You now know what tools go into a basic snowboard maintenance tool kit and how to perform basic maintenance, including:
- Edge tuning
- Waxing
- Basic repairs
There is a deep feeling of satisfaction when maintaining your own gear and the knowledge of the process is a great conversation-starter on the chairlift.